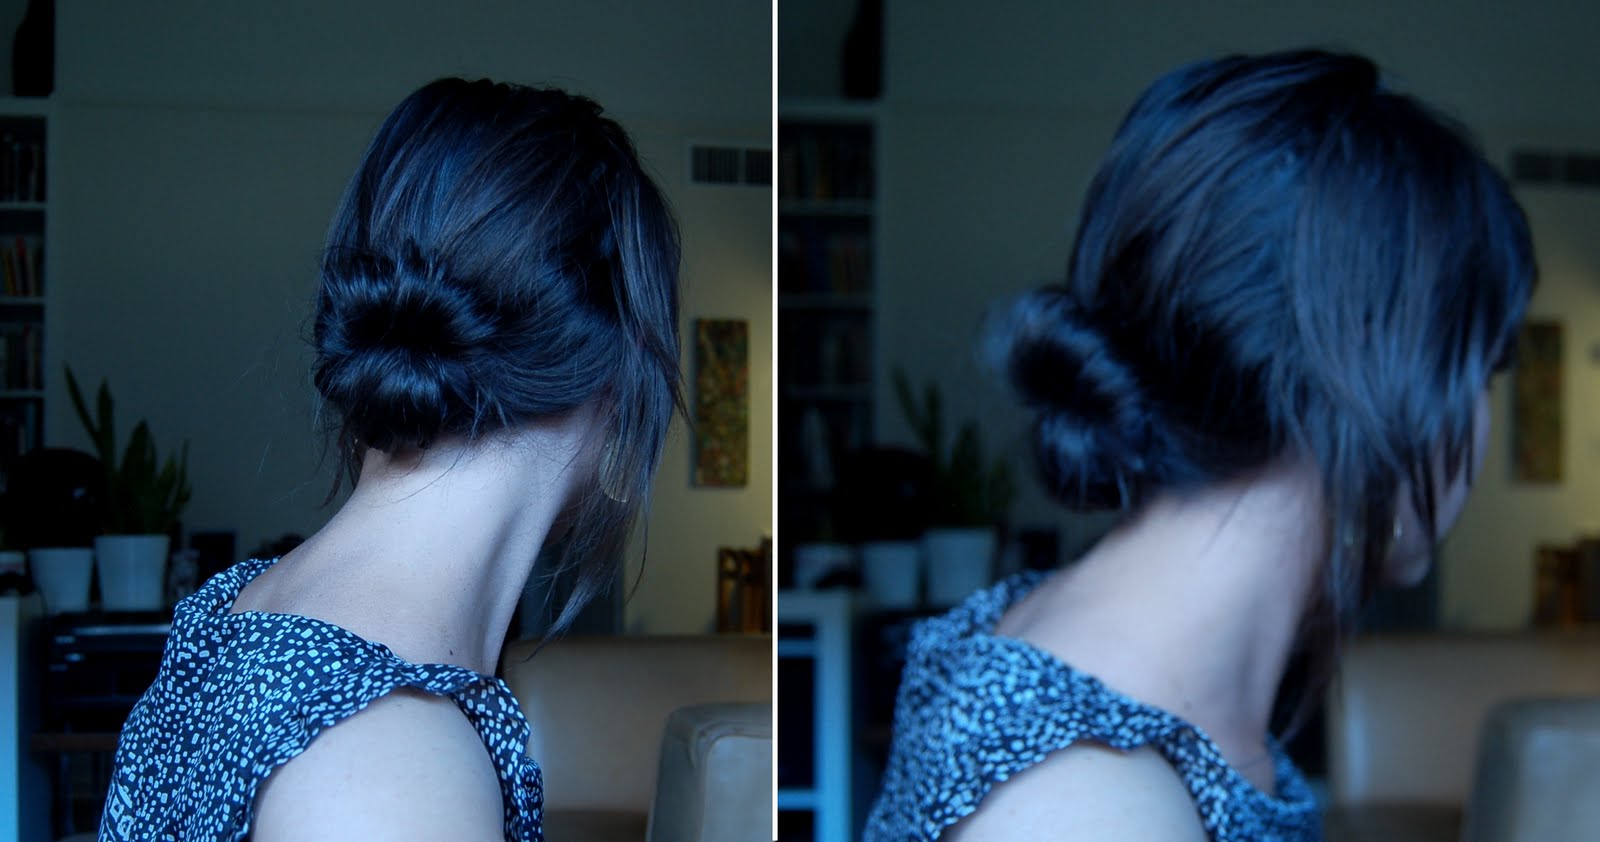
My hair won't make a bun like this on its own. I wear my hair up almost every day of the summer and my hair makes a pathetically tiny bun due to being fine and not super long (3 inches or so longer than my shoulders?). If you have long hair (or thick hair), then this project is of no interest to you.
Do you remember something from the 90s that looked something like this?
I owned two of them in middle school I think. They were velvet material and I think my mom ordered them from QVC. The QVC commercial demonstrated making a french twist and different buns easily form their weird looking hair contraption.
I recently have been in CVS and Target and was wishing I could find one of these again. No luck of course. People would look at that thing and laugh. A scrunchie looks cooler than that thing.
CVS does sell something similar, and less geeky looking, that seems like two slap bracelets, connected, covered in velvet. It essentially does the same thing, but is a HUGE pain in the ass. I bought it, and it snaps constantly as you are trying to roll your hair before assembling the bun. It slaps on your hands and it
hurts. Eric hears me whining in the bathroom and steps in to see what's wrong and I have to say "I'm just trying to put this stupid thing in again.". Occasionally I successfully get it in, then get dressed and completely mess it up...and have to go through the process again. I get slapped repeatedly and ending up getting frustrated and an array of curse words get said.
Make Your Own Weird Hair Bun Contraption
Materials: at least 6 regular size pipe cleaners, two 11 x 3 in. pieces of fabric in a color that won't boldly contrast next to your hair
Tools required: scissors, sewing machine, needle nose pliers
First: Cut your fabric. The length should be around the length of a pipe cleaner. (Cut two 11 x 3 in. pieces).
Second: Twist two pipe cleaners together. Don't do this too tightly so that you would be losing a lot of length. Repeat with another two. Now attach both ends to form one big loop. Make sure to use pliers to push in any wires that might poke you.
**Read rec. at the bottom of post.**
Third: Take one of your pieces of fabric and fold in half lengthwise. Cut a slit in the middle about 1.25 inches. Repeat with your other piece, trying to make the slits in the same place and of the same length.
Now take two new pipe cleaners and twist them together. Take one end and attach to the other to form a loop. (The loop should end up being roughly around 2.5-2.75 inches in diameter.)
Fourth: Open up both pieces of your fabric and lay them on top of each other, good side to good side. Now sew a shape like a giant enlongated almond. You want to be fairly close to the edge at all times, except when close to either end. Make sure you meet in the middle like shown below.
Now both of your pieces should be sewn together and you're staring at the
wrong side and there's an open floppy slit in the middle.
Fifth: Trim off excess fabric.
Sixth: Turn it inside out (use that open slit in the middle to do so.) Shove your large loop of pipe cleaner inside and put it fairly snug to the outer edge. Then place in your smaller loop of pipe cleaner. The spots where the wire should be are shown below. (The stitching you see in the interior comes in a later step.)
Seventh: Now sew a zig-zag stitch on both ends of the slit. (This will prevent it from fraying and becoming a larger opening than you want.) Don't sew over any pipe cleaners!
(Again in this photo you see some stitching in the interior that you haven't gotten to yet.)
Eighth: Take both top flaps of your slit, turn them slightly in toward each other, press together, and sew a stitch. Do the same for your bottom two flaps of the slit. This gives the slit a slightly larger opening (don't make it too large!) and some reinforcement for the open hole. It's difficult to make a nice seam here. No one will ever see the middle (we just want to prevent fraying.)
Ninth: Sew a couple of loops that will hold your pipe cleaners in place. See picture below. (Outer stitch loop shown below, but I left off the inner.)
Finished product:
How to use thing:
** I regret not having a little more wire on the two ends. When you tuck them under, it's much easier with more wire. When I make another, I'll add some additional wire to the ends of the loop (the outer loop---the inner doesn't need any more.)
LONGEST POST EVER, my apologies.